Using RTD.DB
Initial Steps
Before use, please, read the most important topics: Concept and Configuring Tables.
When you understand the concept, take a look at Database Templates.
You will find ready-to-use SQL scripts used to create and configure data tables or, at least, used as templates for your platform.
If you use Trader Workstation, please, specify your username in the application settings.
Start RTD.DB and specify the actual connection string using the Connection Manager from the File menu. Then click the Start button.
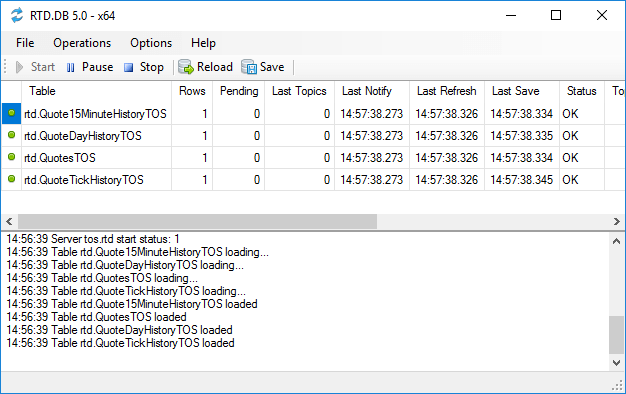
At this point, you should have a working solution and the RTD.DB window should look like this:

In this example, you see that RTD.DB updates four tables with a single data row.
The RTD server notifies and refreshes data; RTD.DB successfully saves the data to a database.
You can learn the meaning of controls and columns in the User Interface topic.
Note that the application minimizes the window to the system tray by default. You can restore the application using the tray icon.
Next Steps
Check the loaded data in data tables.
When the application works fine with test data, you can add as many tickers as you need.
If you add more the 100 tickers, please read about cycling tickers.
You can add new tables for other time frames. Use database templates and learn the built-in functions.
Also, you should better understand the configuration tables.
If you have issues, please read Troubleshooting. If you cannot find the answer, feel free to contact support.
Contents